
BitBrowser + mProxy Integration Guide: Complete Setup Tutorial for with Vietnamese Mobile Proxies
Introduction
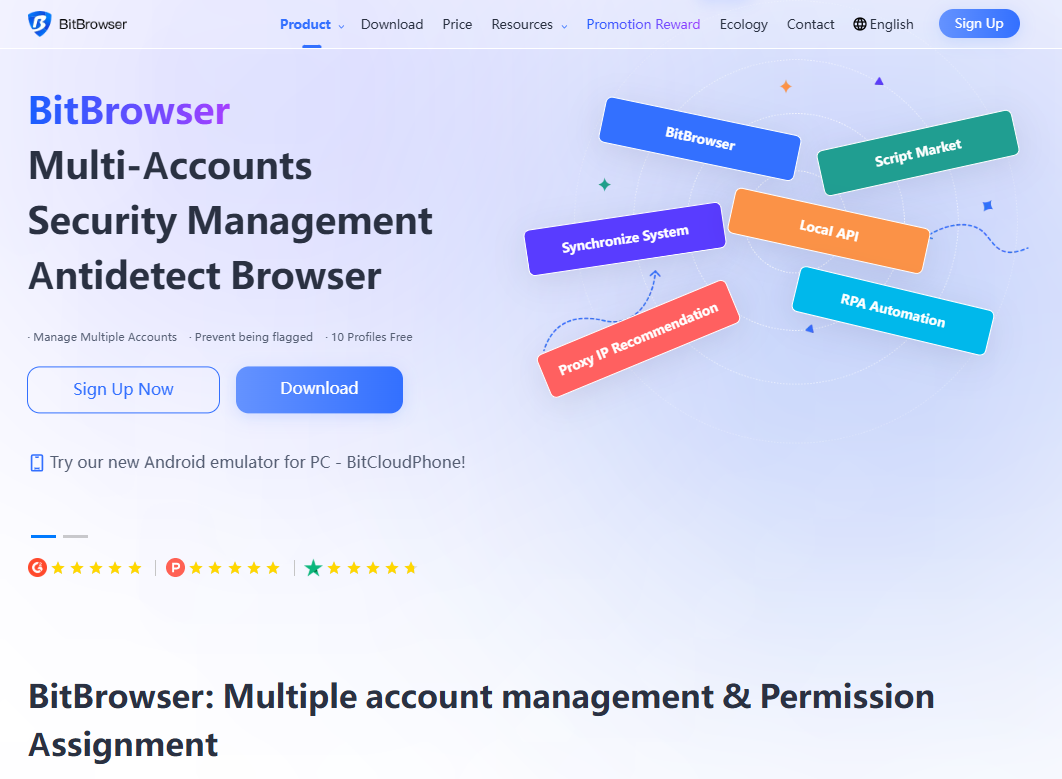
BitBrowser is a powerful antidetect browser that enables secure multi-account management by creating completely isolated browser profiles with unique digital fingerprints. Built on both Chromium and Firefox kernels, BitBrowser allows you to operate multiple browser windows simultaneously, with each profile maintaining independent computer information, device fingerprints, and proxy configurations. This advanced technology prevents account association and protects your online activities from detection by platforms' sophisticated tracking systems.
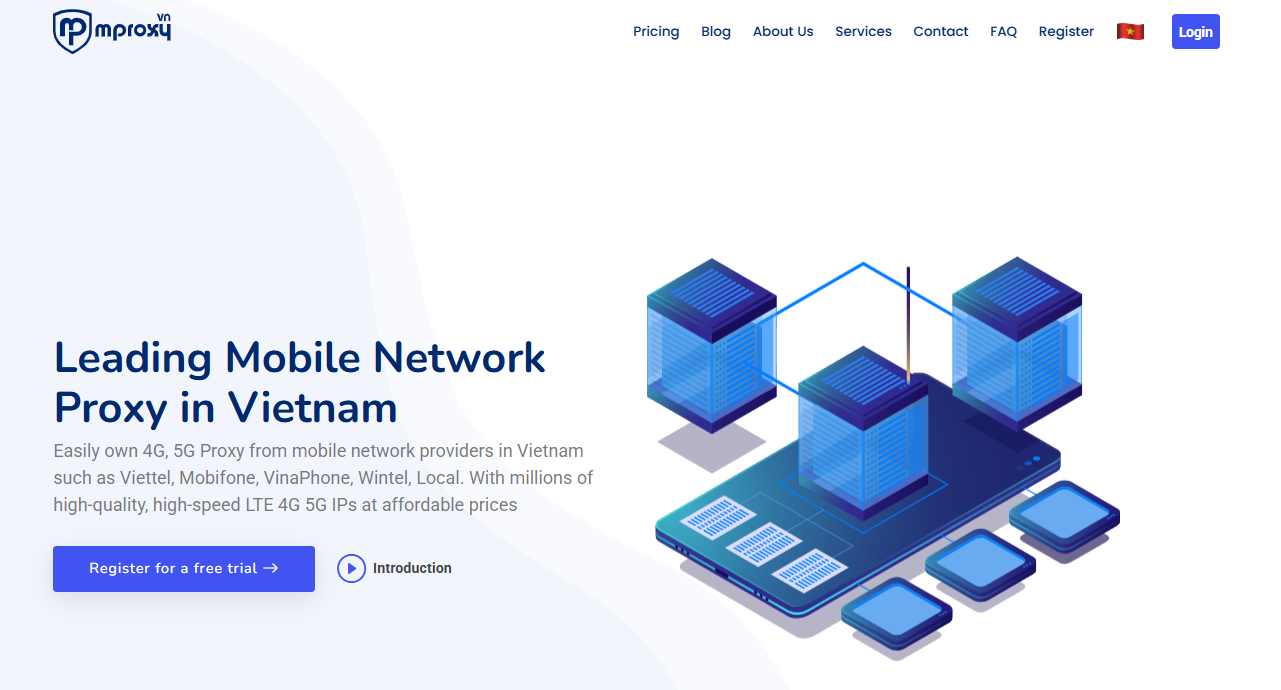
When you combine BitBrowser's advanced antidetect technology with mProxy's genuine Vietnamese mobile proxies, you get the ultimate solution for secure multi-account management. mProxy delivers authentic 4G and 5G LTE mobile IP addresses from real mobile devices connected to major Vietnamese carriers like Viettel, Mobifone, and Vinaphone. Whether you're running e-commerce stores, managing social media campaigns, conducting market research, or scaling ad accounts, this powerful integration provides the anonymity and reliability you need to succeed.
Why Use BitBrowser with mProxy?
BitBrowser's fingerprint customization combined with mProxy's mobile IPs creates an undetectable browsing environment:
• Complete browser profile isolation prevents account association
• Higher success rates for account creation and management
• Better approval rates on social media and e-commerce platforms
• Virtually undetectable - appears as genuine mobile user traffic
• Automatic IP rotation prevents detection and rate limiting
• High-speed connections from 10Mbps to 80Mbps
• Team collaboration features with secure profile sharing
Part 1: Setting Up mProxy
Step 1: Access Your mProxy Account
Log in to mproxy and navigate to your dashboard. You'll see your account information and available proxy packages.
Step 2: Purchase or Activate Your Proxy Key
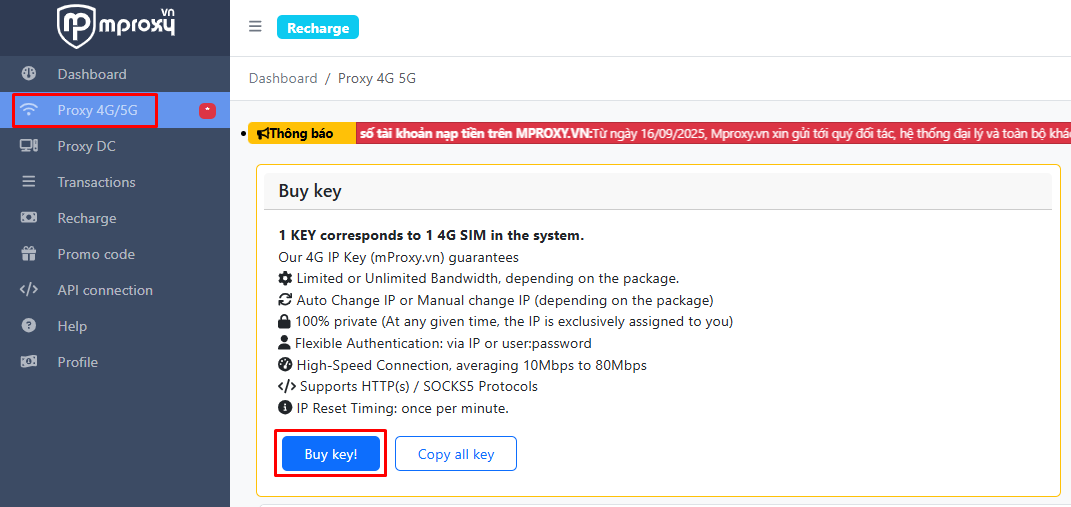
Click "Buy Key" in the menu to view available packages. mProxy offers a 3-day free trial for new users. Choose your desired package based on bandwidth needs:
• Trial packages for testing
• Limited bandwidth packages
• Unlimited bandwidth packages
Activate your chosen package to generate your proxy credentials.
Step 3: Get Your Proxy Credentials
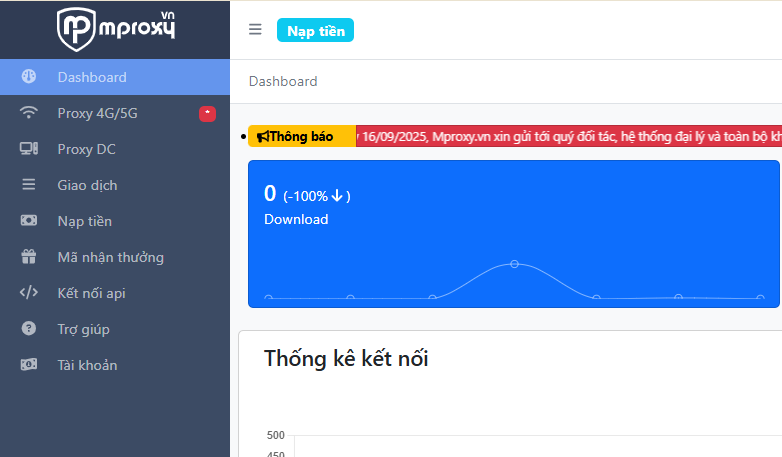
After activation, navigate to the Dashboard to view your proxy key details. Copy these credentials:
• Proxy Type: HTTP or SOCKS5 (both supported)
• Host/IP Address: [Your proxy IP]
• Port: [Your assigned port]
• Username: [Your username]
• Password: [Your password]
• Token: [Your API token for IP rotation]
Keep these credentials handy - you'll need them for BitBrowser configuration.
Note: mProxy automatically rotates IPs every 20-60 minutes, and you can manually reset your IP once per minute using the API or dashboard controls.
Part 2: Integrating with BitBrowser
Step 4: Create New Browser Profile
Launch BitBrowser and click "Browser Profiles" in the left sidebar. Click the blue "Add" button to create a new profile.
Step 5: Configure Basic Settings
Fill in the profile details:
• Name: Create a descriptive name (e.g., "mProxy-Vietnam-Facebook-1")
• Group: (Optional) Organize profiles by platform or purpose
• Platform: Select your target platform (Android/iOS for mobile simulation)
• Multi-open: Select "Allowed" to run multiple profiles simultaneously
Add username, password, and 2FA key if needed for your reference.
Step 6: Configure Proxy Settings
Scroll down to the "Proxy" section and enter your mProxy credentials:
• Method: Select "Custom"
• Lookup Channel: Select "DB-IP"
• Type: Select "Socks5" or "HTTP" (both supported by mProxy)
• Protocol: Select "IPv4"
• Host: Enter your mProxy proxy IP address
• Port: Enter the port number from your mProxy dashboard
• Username: Enter your mProxy username
• Password: Enter your mProxy password
Important: Ensure all credentials are entered exactly as shown in mProxy with no extra spaces.
Step 7: Test Proxy Connection
Click the "Check Proxy" button and wait for verification. A successful test shows:
• Green checkmark or success message
• Your mobile IP address
• Location showing Vietnam
• Mobile carrier identification (Viettel, Mobifone, or Vinaphone)
If the test fails, double-check all credentials and ensure the proxy is active in mProxy dashboard.
Step 8: Save Your Profile
Review all settings and click the blue "Confirm" button. BitBrowser will create your profile and it will appear in your Browser Profiles list.
Part 3: Testing Your Setup
Step 9: Launch and Verify
Click "Open" on your new profile. Once the browser launches:
• Visit https://whatismyipaddress.com or https://ipleak.net
• Verify the displayed IP is from Vietnam
• Confirm ISP shows a Vietnamese mobile carrier (Viettel, Mobifone, Vinaphone)
• Check for IP/DNS/WebRTC leaks using ipleak.net
If everything checks out, navigate to your target platform and test normal functionality.
Best Practices
• Use one profile per account - never share profiles between accounts
• Keep proxy locations consistent for each account
• Use descriptive naming: include location and platform in profile names
• Organize profiles into groups for better management
• Don't open too many profiles simultaneously
• Maintain realistic activity patterns on your accounts
• Test proxies periodically to ensure they're still active
• Monitor your bandwidth usage in the mProxy dashboard
• Take advantage of manual IP rotation when needed (available every minute)
• Match your profile's timezone and geolocation to Vietnam
Conclusion
You've successfully integrated BitBrowser's advanced antidetect technology with mProxy's Vietnamese mobile proxies! This combination provides enterprise-level security and anonymity for multi-account management. Start with a few profiles to perfect your process, then scale as needed.
Remember: Success comes from using realistic behavior patterns, maintaining consistent locations per account, and following platform guidelines. The technical setup is just the foundation - smart usage makes the difference.
For Support
• Visit https://mproxy.vn/ dashboard for mProxy account management
• Check https://blog.mproxy.vn for tutorials and updates
• Contact mProxy support via their website for proxy-related questions
• Contact BitBrowser support for browser-related questions
Pro Tips for Advanced Users
• API Integration: Use mProxy's API token for automated IP rotation in your workflows
• Bandwidth Monitoring: Regularly check your usage in the mProxy dashboard to avoid unexpected service interruptions
• Free Trial: Take advantage of the 3-day free trial to test mProxy's service before committing to a paid plan
• Chrome Extension: mProxy offers a browser extension for easier proxy switching when not using antidetect browsers
• Multiple Keys: Consider purchasing multiple proxy keys for different use cases or geographic diversification
• Speed Optimization: mProxy's connections range from 10-80Mbps - if you experience slower speeds, try resetting your IP
• RPA Automation: Leverage BitBrowser's RPA automation features to automate repetitive tasks across multiple profiles
• Team Collaboration: Use BitBrowser's team management features to organize profiles and share access with team members securely